
If there were ever a mountain that deserved its own fan club, Ausangate would be president, vice president, treasurer, and mascot all at once. This giant of the Peruvian Andes doesn’t just sit there looking pretty. It performs. Its glaciers sparkle when the sun comes up, its valleys glow in earthy reds and golds, and its lakes are so turquoise that your camera just might question whether it’s seeing things.
And if you’re heading out on the Ausangate Trek, or even just planning a day trip for photography, congratulations. You’re about to step into one of the most photogenic corners of the planet. No joke.
At Salkantay Trekking, we’ve led countless groups around these sacred peaks, and we’ve seen every kind of shot taken. Think majestic panoramas, llama glamour portraits, and the occasional “Oops, my finger was on the lens” masterpiece.
This guide will walk you through exactly how to photograph Ausangate in all its colorful, high-altitude glory. From what equipment you need to those sneaky little details that make the difference between “nice pic” and “frame-this-right-now” greatness, we’ve got it all here.
Table of Contents
Why Photograph Ausangate?
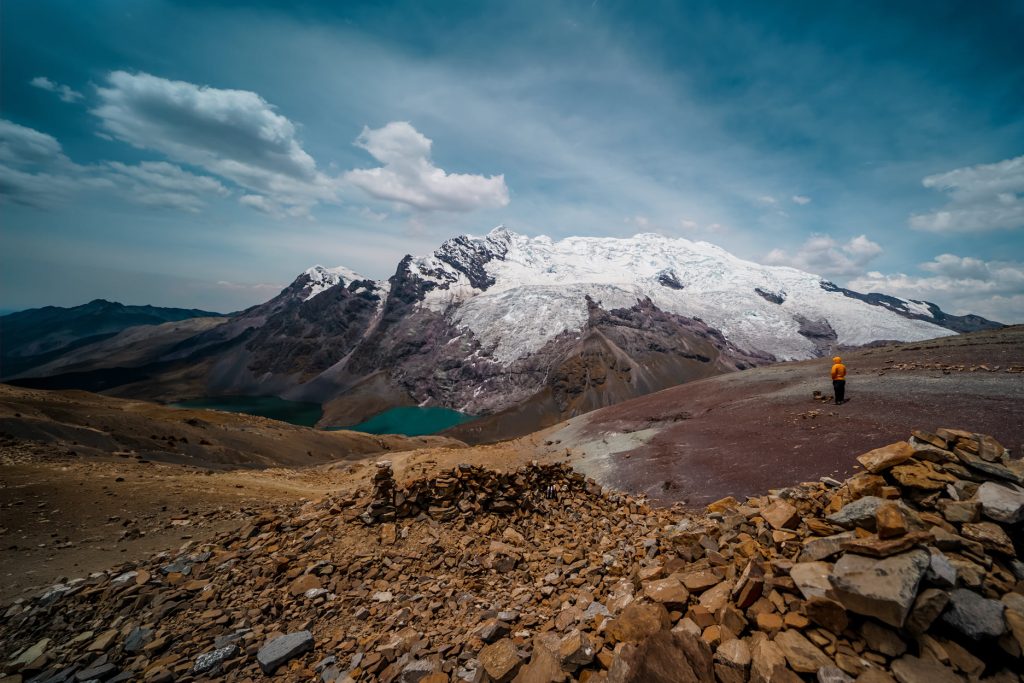
Ausangate is not just a mountain. It’s a mood. A feeling. A full sensory experience wrapped in 6,384 meters of snow, stone, shadow, and color. The Ausangate circuit passes through landscapes that change dramatically every hour, from glowing red cliffs to glistening glaciers to opal-blue lakes that appear out of nowhere like a surprise party put on by Mother Nature herself.
Photographers love it for three big reasons:
The Colors Are Unreal
This region is bursting with minerals, which means reds, yellows, greens, and purples streak across the hills like someone spilled a giant box of crayons. Even without filters, the colors pop.
High-Altitude Light Is Magic
At 4,500+ meters, the atmosphere is thinner. The result? Sharper light, deeper shadows, and colors that photograph like you’ve already edited them. You’ll feel like you’re cheating. Some back home might think you have. We know you haven’t.
Wildlife, Landscapes & Local Culture
Vicuñas, llamas, alpacas, high-soaring birds, Andean communities, and roaming herds create endless opportunities for storytelling photography. Plus the scenery is out of this world. Seriously, you might start to wonder if you’ve walked onto another planet.
Best Times Of Day To Photograph Ausangate
Timing is everything (in both comedy and photography), and Ausangate rewards those who know when to point their lens.
Sunrise
Trust us when we say it’s golden, glowing, goosebump good. Right after the sun rises, it hits the snowy sides of Ausangate at a low angle, creating soft lighting and pastel tones. This is the moment for capturing:
- Pink reflections on ice
- Soft glows over the valleys
- Peaceful, moody lakes as they wake up
Hot tip: If you’re trekking, sunrise often coincides with leaving camp. Keep your camera easily accessible, as the mountain doesn’t wait for fumbling with zippers.
Midday
Midday light is often harsh, except up here. At high altitude, the air is thinner, which means midday shots can deliver some seriously crisp, high-contrast images. This is when you want to capture:
- Bright turquoise lakes
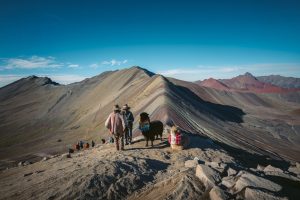
- Layers of red and green hills
- Long-distance glacier shots
Just remember to watch your shadows and exposure. Ausangate’s whiteness can trick your camera into underexposing everything else.
Sunset
This is arguably the most dramatic hour of the day. As the sun drops behind the peaks, the colors intensify. Shadows stretch. Warm light spreads across the glaciers. Everything looks dramatic enough to host its own TV series.
This is peak (pun intended) photography time for:
- Silhouettes
- Long shadows
- Warm-toned compositions
- Mirror-like lakes
Night
At Ausangate, night photography is next-level. Absolutely zero light pollution + high altitude = stars that look like they’re falling into your tent.
If you’re into astrophotography, this is your moment to capture:
- Milky Way arcs over the peaks
- Long-exposure shots of passing clouds
- Star reflections in still lakes
Bring a tripod. And maybe an extra pair of socks. It gets seriously cold at night.
What Gear To Bring For Photographing Ausangate
Before you start packing everything but the kitchen sink, a quick reminder: you’ll be trekking at altitude. Your lungs may complain. Your legs may negotiate. So choose gear wisely and lightly.
Camera Body
You can bring anything from a DSLR to a mirrorless to a phone. What matters most is knowing how to use it.
But if you are choosing between them:
- Mirrorless: lightweight, amazing for trekking.
- DSLR: bulkier, but still king for reliability.
- Phone: surprisingly good these days, especially for wide shots and quick captures.
If you’re carrying a phone only, consider a clip-on lens kit for extra versatility.
Tripod
For early morning, night photography, or long exposures, a tripod is essential.
Choose something lightweight. Carbon fiber if you can. Your future self will thank you.
Filters
- Polarizing Filter: Increases contrast, reduces glare on lakes, intensifies blues.
- ND Filters: For long-exposure waterfall or cloud shots.
- UV Filter: You’re close to the sun. Protect your lens.
Backup Batteries & Power Bank
Cold temperatures drain batteries faster than you can say “Why is my camera dead?” Bring at least three batteries, keep them in your sleeping bag at night, and warm them with your hands before swapping.
Memory Cards
Carry more than you think you’ll need. Mountains make everyone trigger-happy.
Best Photography Spots On The Ausangate Trek
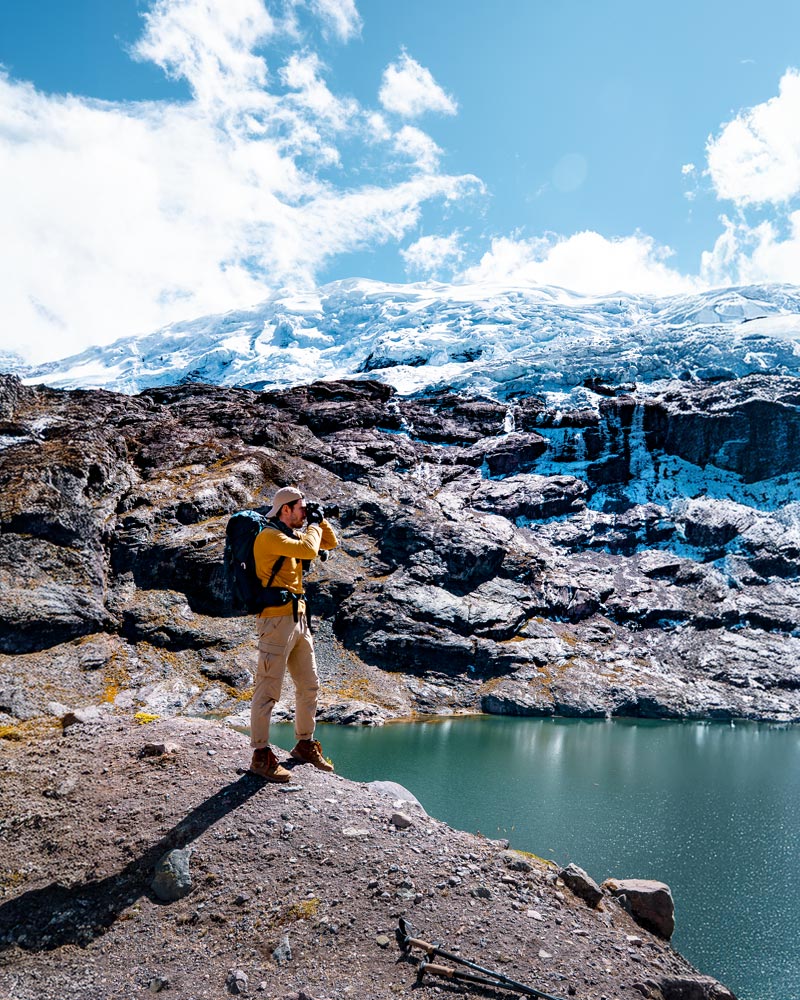
Every corner of this trek is photogenic, but a few spots come with guaranteed “Wow, did I really take that?” potential.
Ausangate Mountain Viewpoints
The classic panoramas of the glacier are show-stoppers. Wide lenses work best here.
Rainbow Valleys
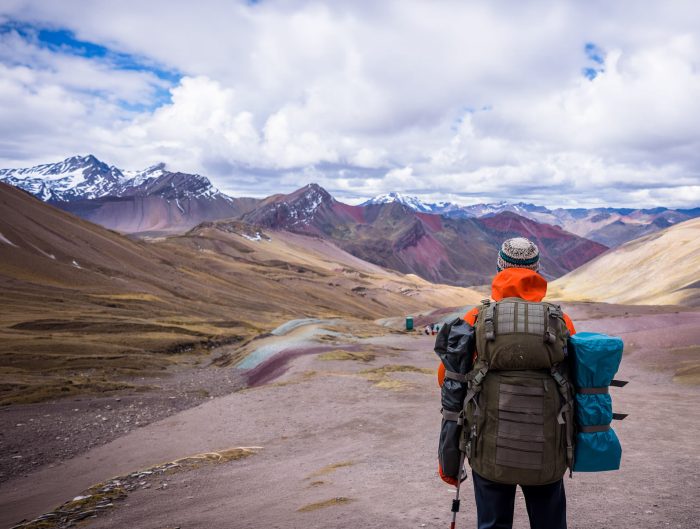
The colorful mineral hills are every photographer’s playground. The more rugged the terrain, the better the shot.
Emerald & Turquoise Lakes
The lakes glow brightest between 10:00–14:00. Still water = perfect reflections.
The High Passes
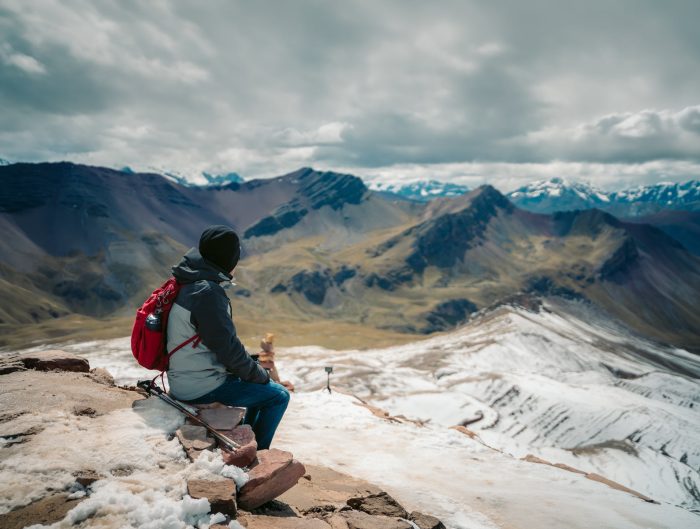
At over 5,000 meters, you’ll get some of the best views of Ausangate’s jagged ridgelines.
Campsites
Seriously. Some of the best shots come from early mornings at camp. There’s something magical about steaming mugs of coca tea against the mountain backdrop.
Local Communities
Ask permission before photographing people, always. But once given the go-ahead, you’ll capture some of the most meaningful images of your trek.
How To Capture Ausangate’s Colors
Ausangate doesn’t hide its colors, but it does reward certain techniques.
Use A Polarizing Filter
This reduces glare and makes the blues and greens pop in ways that make your images look instantly richer.
Shoot After Rain Or Snow
Moisture deepens mineral color. If you’re on the trail after a light drizzle, keep your camera ready. The reds and yellows look saturated and dramatic.
Include Foreground Elements
Try using:
- Rocks
- Grasses
- Herd animals
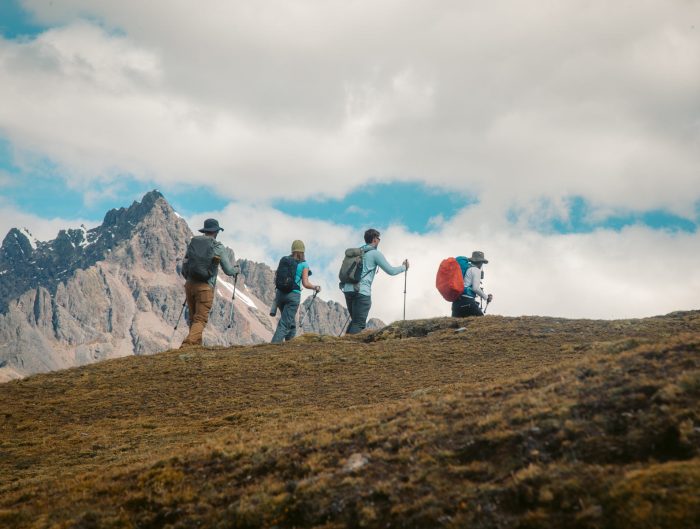
- Trekking poles (for that “epic adventure” vibe)
Foregrounds helps to highlight the scale of Ausangate’s layered hues.
Play With Angles
Squat. Kneel. Lie in the grass. Stand on a boulder and channel your inner mountain goat. Different angles transform the way colors layer and blend.
How To Photograph People On The Ausangate Trek
Portraits help tell the full story of your adventure.
Guide & Trekker Portraits
Use wide apertures to blur backgrounds while keeping the mountain slopes visible.
Local Community Members
Remember to always ask permission. A smile and a “¿Puedo tomar una foto?” goes a long way.
Llamas (Yes, They Count As People)
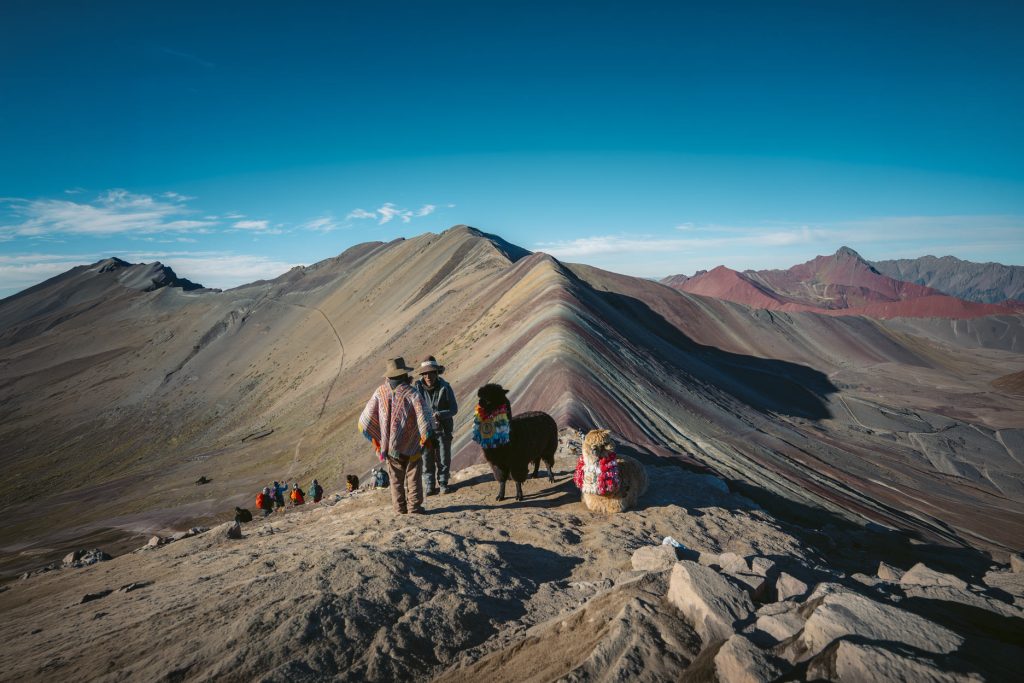
They have big personalities. Respect their space, but be patient. Some will pose like natural-born influencers.
Editing Your Ausangate Photos
Editing is your chance to relive the trek and bring out the magic you witnessed. Try:
- Adjusting exposure
- Increasing shadows slightly
- Lowering highlights
- Adding contrast
- Enhancing vibrancy (but go easy — Ausangate is colorful enough!)
- Sharpening just a touch
Pro Tip: Don’t Over-Saturate
We get it. Those colors are tempting. But Ausangate is already eye-popping in real life. The best edits stay natural, even if they’re bold.
Common Mistakes (And How To Avoid Them)
We all make mistakes. We’re only human. Here are some of the ones you’re more likely to make and ways to stop them from happening.
- Underestimating The Cold: Cold batteries die fast. Keep them warm and rotate often.
- Overexposing Snow: Use exposure compensation to preserve detail.
- Forgetting To Clean Your Lens: Wind + dust = streaky photos. Bring a small microfiber cloth.
- Not Staying Hydrated: Altitude affects judgment, balance, and camera handling. Drink water like your photos depend on it, because they do.
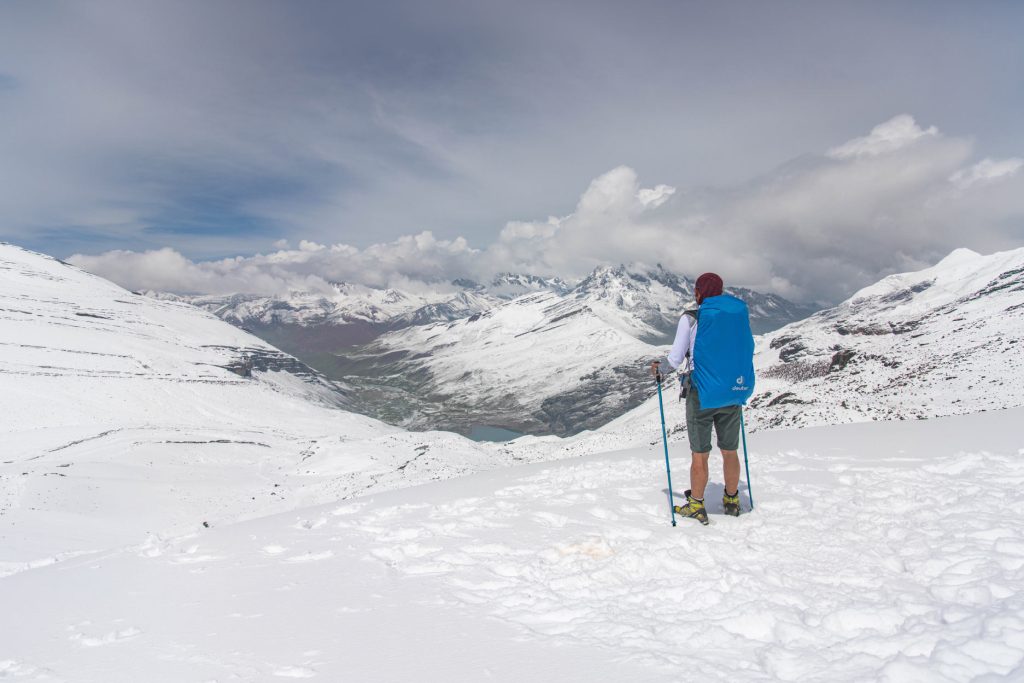
- Focusing Only On Big Landscapes: Some of the best shots are small moments: Footprints in the snow. A steaming cup of tea. A lone alpaca staring dramatically into the distance.
Making Magic At Ausangate
Photographing Ausangate is one of the most rewarding experiences in the Andes. This mountain gives generously in color, drama, silence, space, and soul. With the right gear, techniques, and timing, your photos will transport you right back to those glacier winds, early mornings, and unbelievable landscapes.
Whether you’re shooting with a phone or a full camera setup, Ausangate has a way of helping everyone feel like a National Geographic photographer for a few days.
So pack your camera. Charge your batteries. Warm your hands. And get ready. Ausangate is waiting to show off for you.

You might also like
Leave A Reply